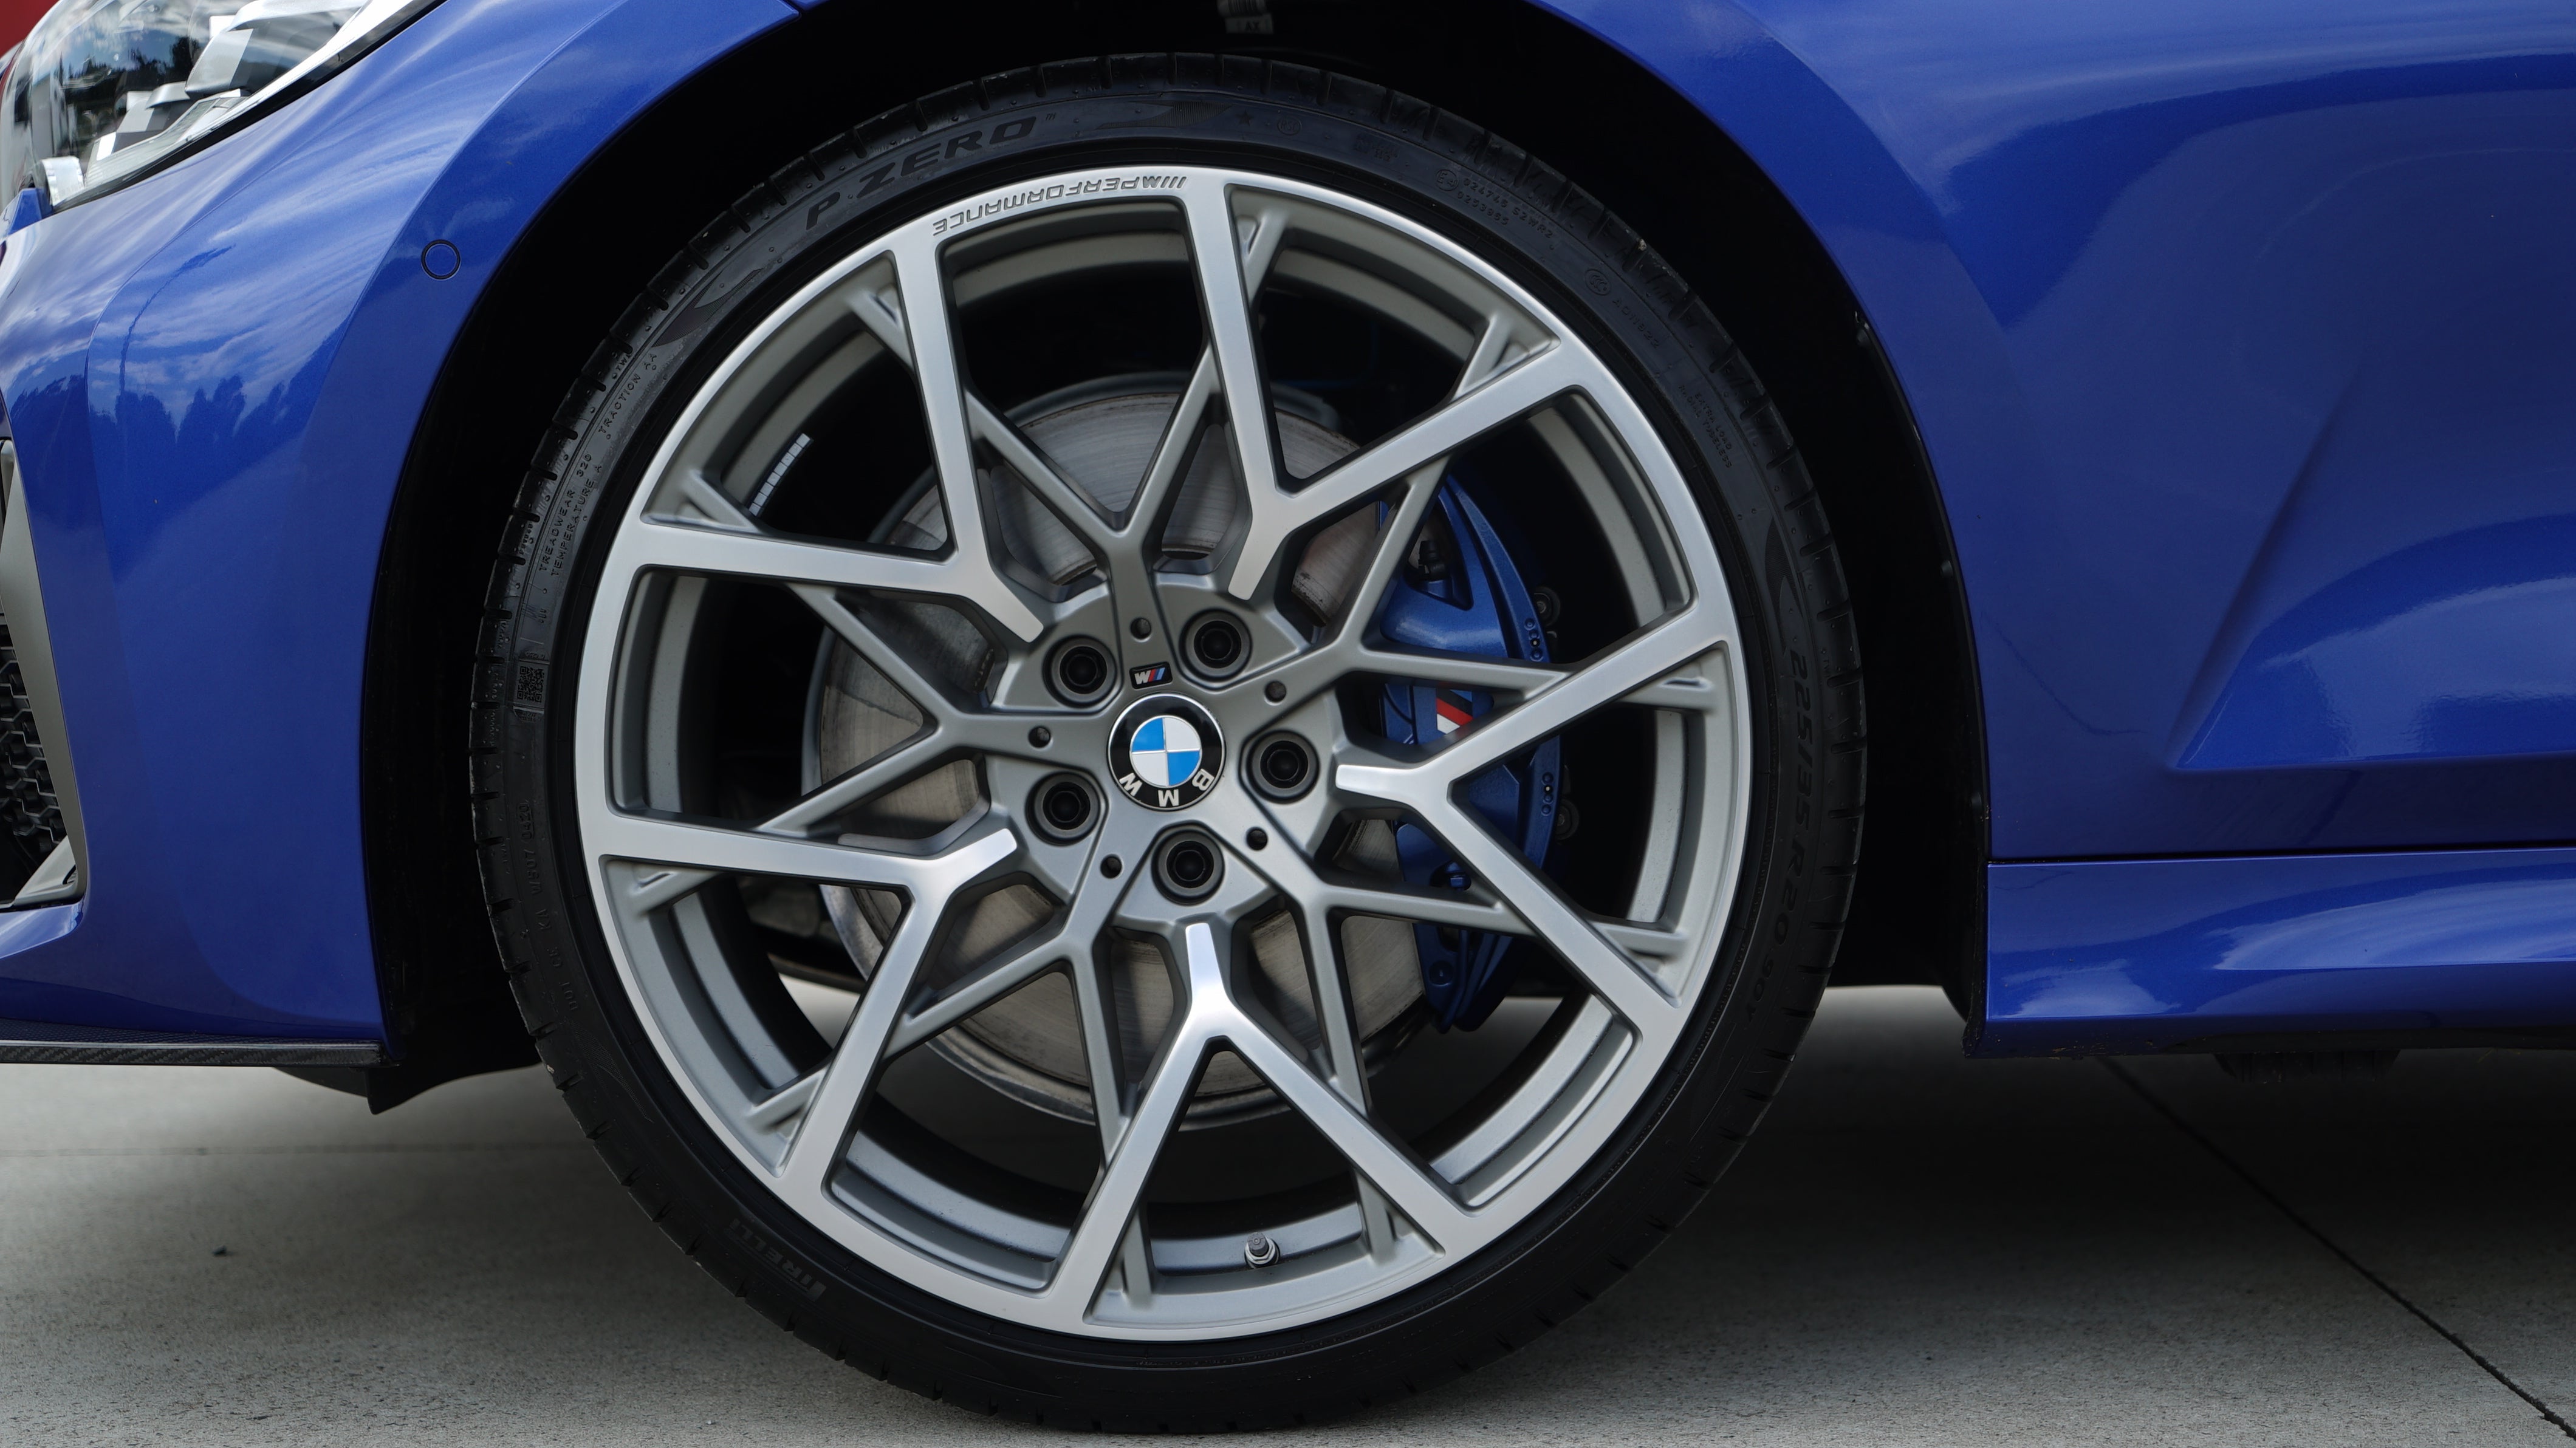
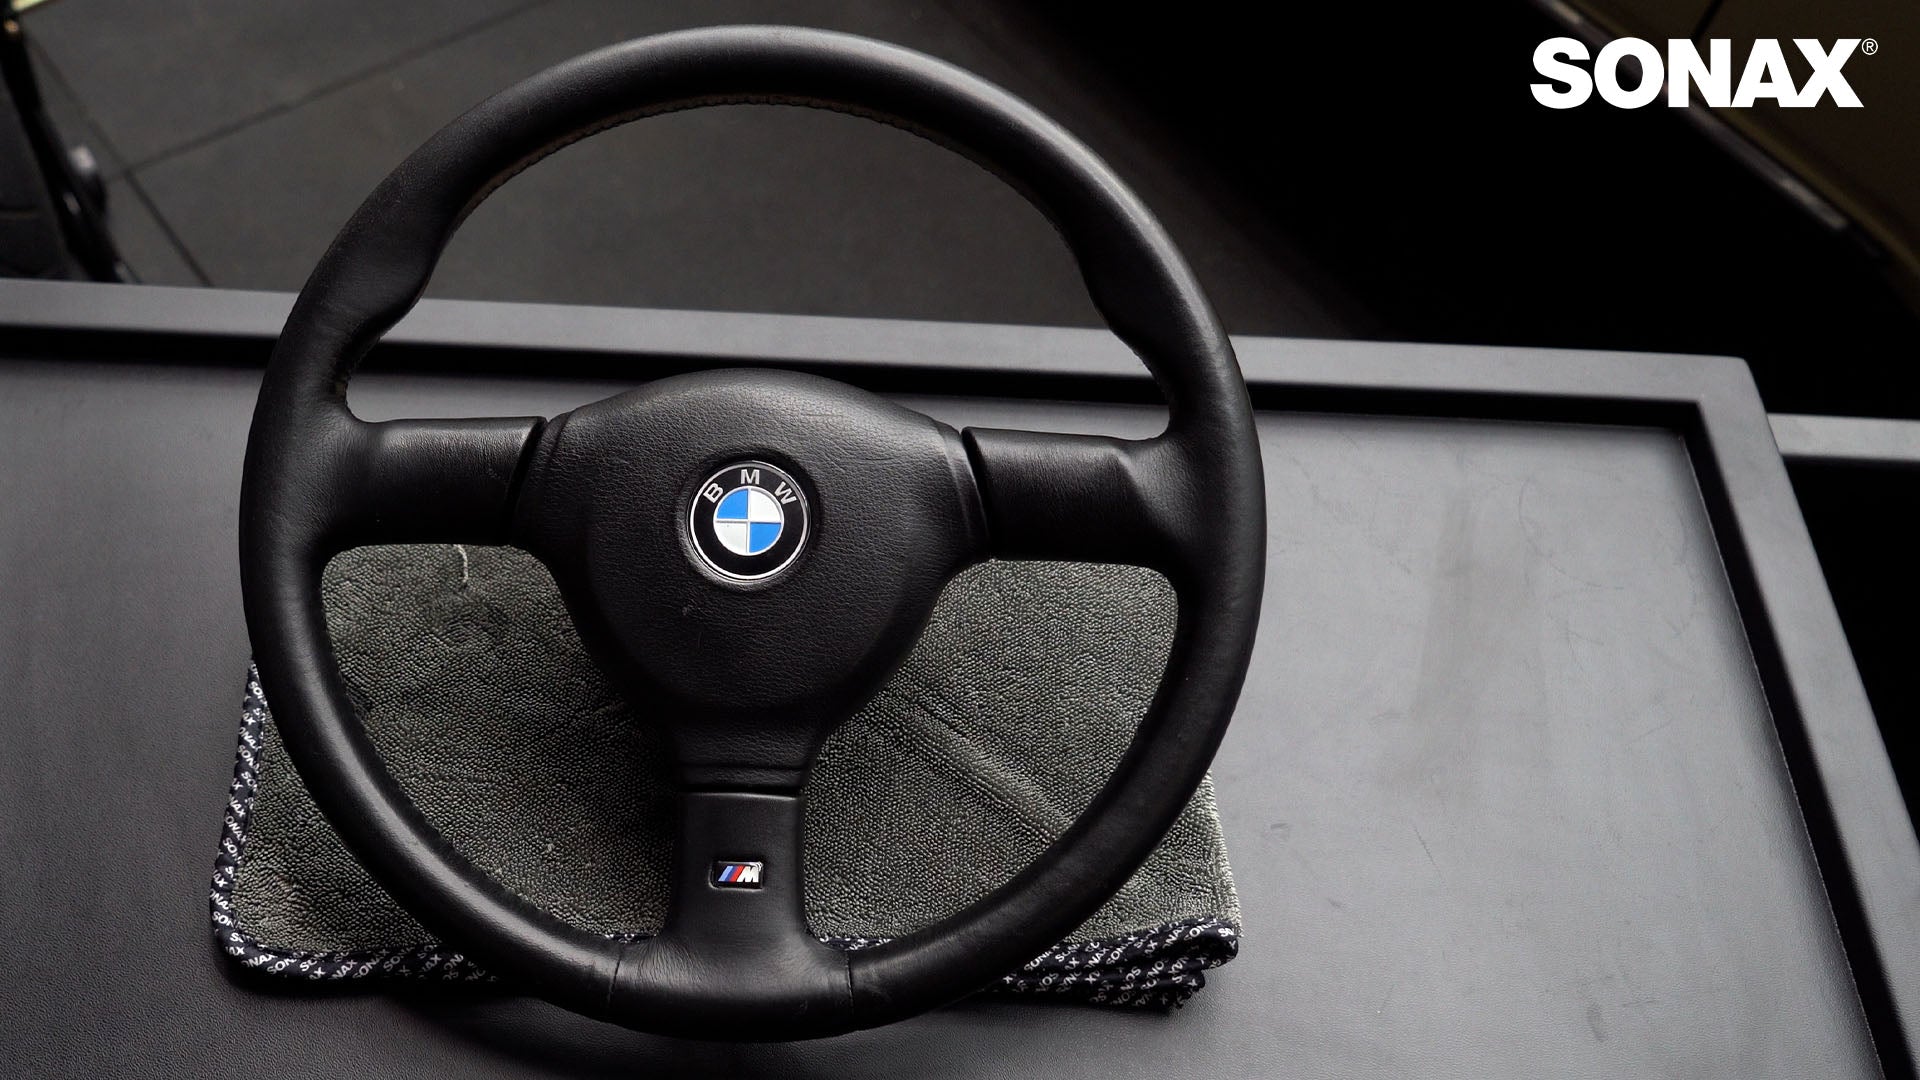
Ceramic coating your wheels is one of the best things you can do to make it easy to clean and maintain them. When adding a layer of ceramic you're effectively sealing off the surface to prevent dirt and contaminants from bonding to the surface.
Here is a quick guide of how you can ceramic coat your wheels the professional way.
Step 1:
To achieve the best results possible we believe that removing the wheels from the vehicle is an essential part of the process. This is done to be able to access and coat all areas of wheel which are not reachable when it is fitted. 
Step 2:
The next step is deep cleaning of the wheel in every last little gap with a gentle but effective brush and the correct cleaning chemicals. We recommend a PH-Neutral wheel cleaner to avoid any damage/stress to the wheels painted surface and rubber valves. Full effect wheel cleaner is an excellent choice here.

Step 3:
Once the wheel has air dried it is time to alcohol wipe the wheels to remove any potential left over oils or greases. These may not be visible on the surface yet can be left over after the first clean. This will assure the ceramic can evenly and effectively bond on all surfaces. SONAX Prepare is an excellent choice here due to the mixture of surfactants and paint safe solvents.

Step 4:
Apply the ceramic coating to the inner face and barrel of the wheel to begin with. Allow a few minutes (as directed on instructions of the coating) then wipe until you have a streak free finish. Now repeat this step for the front face of the wheel. By following this process room for error is minimized whilst coating. Our favourite coating for wheels is CC one due to the quality of finish and ease of application.

Step 5:
Mount the wheels back on the vehicle after they have been completely coated and torque to the correct factory specifications. (EG. 140nm for BMW M14 threads).

Step 6:
Enjoy easy cleaning from here on out and remember to maintain them with PH Neutral Cleaners only to make sure you don't undo your hard work!


